Thursday, December 12, 2013

our black and white "FamilyTree"


 So my family is really into family history.  We tell our kids stories about their great great grandparents and call them "ancestor stories".  So I had the idea this year to include our heritage on our tree and call it a "family tree"  We went back 5 generations from our kids on both sides. 


I used a toile background for my side,


...and polka dot for my husband's side to distinguish between them.


 For a FREE printout of your own family tree go to familysearch.org and create and account, it is so    very amazing to see names of people appear on your very own family tree!

I added an over-sized monogrammed ornament for each of my own kids to make them know they are a special part of our family tree (i modified an idea I found on pintrest, YES I did paint these white, they were formerly gold and I added a black vinyl sticker.)


 Here it is: our family tree

kind of a switch from last year right?

Keeping old favorites

I found I couldn't part with old favorites; things we have used every year in decorating for Christmas.  This is especially important for the kids who anticipate having things a certain way during this special time of year.


Spray paint makeover!

The next thing I did was to spray paint my decorations black and white so that I wouldn't have to spend money buying all new decorations.  The hat box was a bright floral which I sprayed black and covered with vintage-style black and white paper.

Monday, November 18, 2013

Black and White Chritmas decorating part 1 quick stocking makeover


The stockings.  I covered stockings I bought on clearance for .25 cents. 

Saturday, August 17, 2013

laundry room facelift


  My sister-in-law wrapped fabric over pizza boxes to create this lovely 
grouping on the wall of my niece's nursery.  I decided to try it out myself....

 My local pizza shop sold me the boxes for .35 cents each.
 I used fabric scraps and sewed them together before 
gluing the fabric to the box with a glue gun.

 Afterward I drilled long screws into the my 
wall and hung the boxes up in my mudroom.
                         Later I added a matching curtain to cover up some unsightly shelves.
                     Finally I added a strip of the fabric to the top of the wall with liquid starch
                               (a trick I learned from my sister) to tie it all together:)

Thursday, January 31, 2013

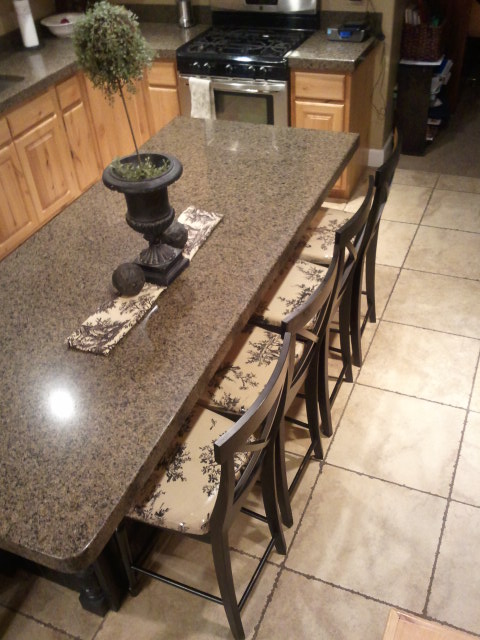
quick barstool upholstery!


Want to give your kitchen a facelift?
I had 2-toned bar stools which I liked but didn't LOVE...
 
So I got this stuff: The foam is from Walmart
 (3.75 per seat),
 the vinyl was also from Walmart
 (about $1.00 per seat.
 I borrowed the staple gun
(I really want to buy one for myself though!!!)
  and my sweet Mama
 bought me the fabric
 (you will need about 2 yards or more
depending on how many seats you do). 


,


I started by cutting the fabric to generously overlap each seat.
Then I decided to tea- stain the fabric to make it look a little more antique-looking.
Simply soak the fabric in black tea (which I don't drink, but use a lot for antiquing fabric!)


After antiquing the fabric I dried it and pressed it.  Next I put  down the foam and the fabric and set the unattached seat down on top and started to staple.  Somewhere I read that you should start stapling in the middle, not the edges.
After completely stapling the fabric tightly around the seat and foam, next add the vinyl.
(I didn't glue my foam to the seat but I have seem it done like that...) 
finally, screw the seat back on the stool.
much better!
I don't even mind when the kids spill on it!!!


Yeah! A kitchen makeover for about $5 per seat!!!!!
(I didn't bother taking pictures of my living room which was a
 complete disaster when I got done...)